


DIY Projects: Create and Frame Your Own Posters at Home
Introduction
In a world where customization and originality in interior design are increasingly sought after, DIY (Do It Yourself) projects for creating personalized posters are an exciting trend. This article will guide you through the steps of creating your own posters, from printing to framing, while incorporating personal touches that reflect your unique style.
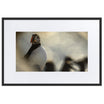
Choice of Photography and Custom Design
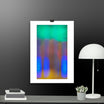
The first step in any custom poster project is to choose or create an image that speaks to you. Whether it’s a family photograph, a captivating landscape, or an original artistic creation, select a high-quality image to ensure the best possible rendering. Use editing software to adjust colors, add text or special effects, making each piece truly unique.
Choosing the perfect photograph and customizing its design are crucial steps in creating a poster that not only beautifies your space, but also reflects your unique personality and tastes. Here are some tips and techniques to help you select and customize your photograph to turn it into a stunning custom poster.
Selection of Photography
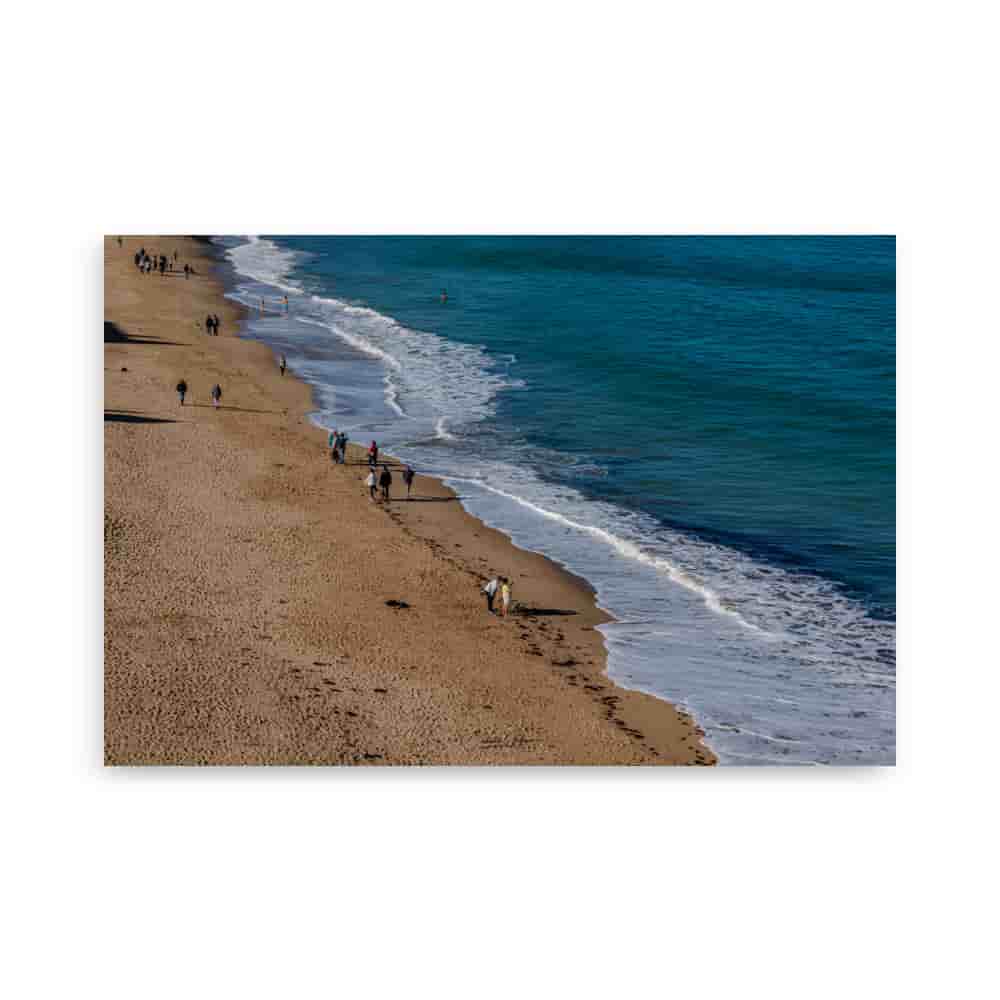
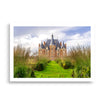
The first step is to choose an image that has personal meaning to you. This could be a photo taken on a memorable trip, a cherished family moment, or even a landscape that inspires you. The important thing is to choose a high-resolution image to ensure that the final poster is clear and detailed, even at a large size. Images should ideally be taken with a good quality camera or downloaded from sites that offer high-resolution royalty-free images.
Personalization and Design
Once you have chosen your image, the customization can begin. Photo editing software such as Adobe Photoshop, Lightroom, or free online tools like Canva allow you to make changes and embellishments to your image. You can adjust the brightness, contrast, saturation to enhance the image to your liking, or apply filters to change the mood or style of the photo.
Adding graphic elements
For those looking to add an extra creative touch, consider incorporating graphic elements such as quotes, important dates, or illustrations that complement the image. These can be strategically placed to add context or highlight a specific message you want to convey through your poster.
Colors and patterns
Also consider the color palette of your living space. You can change the hues in your photo to match the colors in your bedroom or living room. If your interior design has a specific theme, such as minimalism or rustic, adapt your image to complement or contrast elegantly with the surrounding style.
Preview and adjustments
Before finalizing your design, it’s essential to preview the image in the context in which it will be displayed. This may involve simulating how it will look on a specific wall in your home using visualization software or even creating a small test print to assess the impact of the design in real space.
Customizing your poster isn't just about selecting a beautiful image; it involves a series of creative adjustments that enrich the chosen image and transform it into a work of art that speaks and resonates personally with you and those who visit your space.
Home Printing Tips
Home printing has come a long way, allowing anyone to produce quality prints without leaving their home. For posters, opt for high-quality printing papers that are specifically designed for photos. Be sure to adjust your printer settings to maximize print quality, taking into account resolution and paper size.
Home photo printing has evolved considerably, allowing anyone to create professional-quality posters with just a home printer. Here are some essential tips to ensure your home prints reflect the quality and visual impact you want.
Printer Selection
The quality of your print depends greatly on the type of printer you use. Inkjet printers are generally preferred for photo prints because of their ability to produce fine details and a wide range of colors. Newer models of dedicated photo printers offer high resolutions and use special inks that improve image quality and ensure color longevity.
Paper Selection
Paper selection is crucial to the final impact of your poster. For quality prints, choose a specific photo paper that matches the needs of your project. Options include:
- Matte paper: Ideal for photos that will be exposed under direct light because it minimizes reflections.
- Glossy Paper: Excellent for capturing depth and vibrancy of colours, ideal for vibrant images.
- Semi-gloss or satin paper: A compromise between matte and glossy, reducing reflections while maintaining rich color quality.
- Fine Art Paper: Offers a texture and weight that adds a luxurious dimension to your prints, perfect for highly detailed artwork or images.
Printer Settings
Before you print, make sure your printer settings are optimized for photo quality. This includes selecting the correct paper type in your printer settings, adjusting the print quality to “high” or “best,” and making sure your printer is calibrated to accurately reproduce the colors in your photograph. Periodically calibrating your printer can help keep your results consistent.
Image Preparation
Make sure your image is a good resolution for printing. A good rule of thumb is to have a resolution of at least 300 DPI for the best print quality. If you enlarge an image, make sure it doesn't become blurry or pixelated. Editing software can help adjust sharpness and improve image quality before printing.
Printing Tests
Before you finalise your poster print, it is advisable to make a few test prints on standard sheets of paper. This allows you to see how the colours and brightness of your image translate to print, and adjust the settings if necessary to achieve the desired result.
Printer Maintenance
To ensure consistent quality, keep your printer in good condition. This includes replacing ink cartridges before they run out and regularly checking the printheads to avoid clogs or streaks on your prints.
By following these tips, you can maximize the quality of your home printing and produce custom posters that are both beautiful and professional.
DIY Framing Techniques
Framing is crucial to showcasing your poster. You can choose to create your own frames from materials like wood or metal, or customize store-bought frames. Online tutorials can guide you through cutting glass and assembling, allowing you to perfectly match the frame to the size and style of your poster.
DIY (Do It Yourself) framing is a great way to further personalize your posters and make them fit seamlessly into your decor. Not only does framing protect your prints, it can also greatly enhance their appearance. Here are some handy tips and techniques to help you frame your posters at home, adding a personal and professional touch to your wall art.
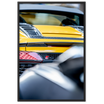
Choice of Frame
The choice of frame largely depends on the style of your decoration and the visual effect you want to create. Frames can vary in material, thickness and color. For a modern look, thin metal frames are very popular, while for a more rustic style, wooden frames with natural finishes are ideal. Here are some options:
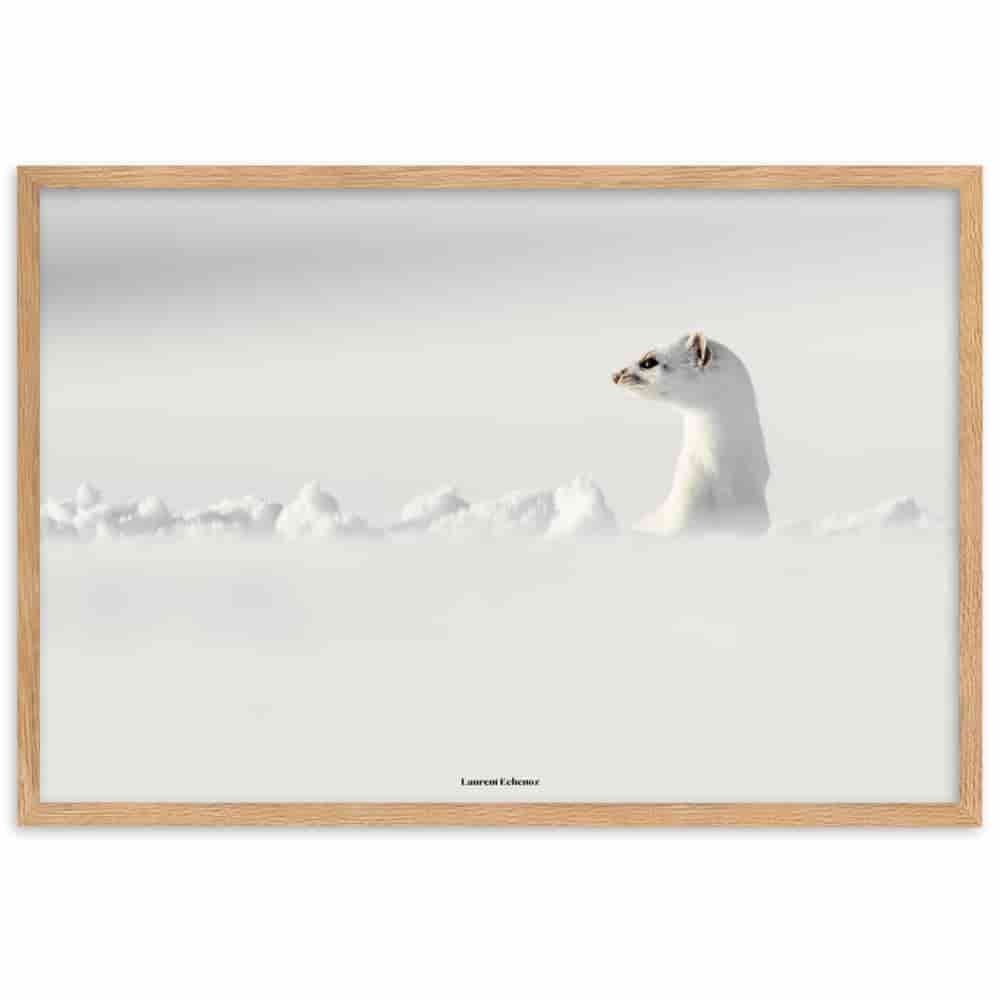
- Wooden frames : Warm and classic, they are available in a variety of finishes such as oak, walnut, or painted white or black.
- Metal Frames : Offer a clean, contemporary look, often used for modern or minimalist decor.
- Floating Frames : These frames allow your poster to "float" without touching the edges of the frame, adding dimension and visual interest.
Cutting the Material
For a DIY frame, you will need to cut the protective glass or plexiglass, as well as the backing (matboard) if you decide to use it. You can buy glass or plexiglass already cut to your dimensions or have it custom cut at a hardware store. To cut the matboard, use a sharp craft knife and a metal ruler to get clean edges.
Frame Assembly
- Image placement : Place your poster centered on the matboard or directly in the frame if there is no mat.
- Mounting : Secure the image using archival tape to prevent damage to the print.
- Adding Glass or Plexiglas : Clean the glass or plexiglass carefully before placing it in the frame to avoid dust and fingerprints.
- Closing the frame : Use clips or tacks to seal the back of the frame. Make sure everything is secure to prevent the contents from moving.
Additional Decorative Techniques
To further personalize your frames, you can paint the wooden frames with colors that complement your decor or use techniques like gilding for a more luxurious effect. Adding details like etched patterns or textures can also give your frames a more personalized and artistic look.
Maintenance Tips
To keep your framed artwork in pristine condition, hang it away from direct sunlight to prevent fading. Clean the glass or plexiglass regularly with a soft cloth and non-abrasive cleaner to keep the view of your art clear and unobstructed.
By following these steps and adding your own personal touch, you can create frames that not only protect your artwork but also showcase it in a professional and aesthetically pleasing way. This allows each piece to be a statement of your personal style while enhancing the ambiance of your space.
Integration into your Home Decor
Once your poster is printed and framed, the next step is to integrate it harmoniously into your interior decoration. Think about the location that will best highlight your work, whether in the living room, bedroom or even the kitchen. Hanging your poster at eye level is generally recommended for optimal visual impact.
Why Choose Custom Posters?
Custom posters are not just decorative elements; they are expressions of your personality and passions. They transform living spaces into personal art galleries where each piece tells a story or evokes a cherished memory.
Conclusion
Creating your own custom posters is a rewarding way to actively contribute to your interior decor, adding a personal touch that is sure to impress your guests. For more inspiration and to discover professional printing and framing options, visit The French Poster Shop .


Leave a comment
All comments are moderated before being published.
This site is protected by hCaptcha and the hCaptcha Privacy Policy and Terms of Service apply.